40 how to remove backing from dymo labels
PDF DYMO Label User Guide Introduction TourDYMO Labelv.8 GivesanoverviewoftheDYMOLabelv.8software mainworkareas. Getting Started Containstopicstohelpnewusersstartprintinglabels Loading & Cleaning the Dymo LabelWriter - KidCheck Wipe any dust or debris off the outside of the printer. If needed, you can clean dirt or smudges with rubbing alcohol, diluted dish detergent, or diluted glass cleaner. Open the cover and remove loaded labels by using the eject button on the right. Carefully clean any paper, dust, or debris from the interior with a toothbrush or cotton swab.
XTL Labels - Removing Label Backing - YouTube Quickly learn how to remove label backing so you can apply your labels.
How to remove backing from dymo labels
How do I remove the backing from the labels? | Brother Peel off the label backing. Another method is to use a pen that has a pocket clip. Hold the tape in your left hand, with the printed surface facing up, and hold the pen in your right hand. Pass the tape halfway through the long narrow hole in the pen's pocket clip. Turn the pen three-quarters of a turn towards you and pull the pen away from you. How do you remove the backing from plexiglass? - AskingLot.com Rubbing alcohol is another option for removing sticker residue. Simply dampen a paper towel with the alcohol, lay that towel over the sticky area, then wait a few minutes while the fluid dissolves the glue. To finish, remove sticker residue by rubbing away any lingering material with your fingers or a plastic scraper. LabelManager 160 User Guide - Dymo With the DYMO LabelManager 160 label maker, you can create a wide variety of high-quality, self-adhesive labels. You can choose to print your la bels in many different font sizes and styles. The label maker uses DYMO D1 label cassettes in widths of 1/4”, 3/8”, or 1/2”. Labels are available in a wide range of colors.
How to remove backing from dymo labels. How to remove printed labels from the backing easily? Hold the label in your finger and thumb, with the back of the label on your forefinger. The end of the label should be out from your fingers about 10-5mm. Pull with the index, and push with the thumb, very hard. The end of the sticker will be revealed, and you can take the sticker off. Amazon.com : DYMO 3D Plastic Embossing Labels for Embossing ... Designed for Office Mate II label makers, DYMO embossing labels are built to last. Whether you’re using them indoors or outdoors, this embossing tape sticks to all smooth, clean surfaces for clear, easy-to-read labels. Plus, they resist fading and don’t leave a sticky residue or break when you remove them. Dymo Labelwriter 450 Troubleshooting & Printing Guide Label Jams. This is the big momma of all Dymo printing errors, as it is a very common complaint. Here are the steps for unjamming a jammed LabelWriter 450. Unplug the printer. Open the cover. Cut off the intact labels. Pull out the front panel, which is the part that bears the "LabelWriter 450" sign. How to Add Border Styles to Dymo LetraTag Labels 1. Press the FORMAT button 2. Select BORDERS, and press OK 3. Select UNDERLINE or a BOX-STYLE, and press OK And that's it! Your label now has an Underline or Border added to it.
Dymo label maker 280 - polrenh Label maker is connected and battery pack is charging Label maker is connected and battery pack is charging … Locate the split on the label backing. If you need further assistance, visit the DYMO Web site at How do you connect a label maker to a battery? #Dymo label maker 280 how to. How to remove labels from Dymo Rhino 4200? Your label maker ... PDF How to clear a label jam in the Dymo label printer? Gently lift the back edge of the panel towards the front of the printer. 6. Slide / wiggle the front panel off. apply to both the Dymo 400 and Dymo 450 models 7. The lever on the left releases the roller pressure on the paper and will allow users to more easily remove the labels or paper. Gently lift this lever to help remove the jammed label. How do I fix the label jam on my Dymo? - FindAnyAnswer.com Hold the tape in your left hand, with the printed surface facing up, and hold the pen in your right hand. Pass the tape halfway through the long narrow hole in the pen's pocket clip. Turn the pen three-quarters of a turn towards you and pull the pen away from you. Peel off the label backing. 12. How to load dymo label maker - 650.org If you have an inkjet printer, fan the paper and load it into the "in" tray with the label side facing down. For laser printers, load the paper into the input tray with the label side facing up. If your laser printer has a priority feed slot, load a single sheet of label paper into it at a time.
An Appealing Idea: How to easily remove the backing from Dymo Tape When you're ready to peel your label, get a piece of packing tape- the heavy-duty, plastic kind. Apply the packing tape to the backing side of one end of your Dymo Tape. You want the packing tape to extend beyond the edge of the Dymo Tape like a little handle or tab. Grab the tab and pull- the backing will peel away smoothly and easily. label stuck on the output roller, how to remove it - DYMO ... - iFixit Use a heat gun or hairdryer and warm the label so it can be scraped with a very small flat head and/or needle nose pliers Was this answer helpful? Yes No Score 0 Add a comment Add your answer petermckinna will be eternally grateful. Preview my answer Post my answer PDF The DYMO COLORPOP! DYMO 3Select the width of the label cassette currently in the printer and press . To Print a Label 1Enter text and format to create a custom message. 2Press . 3Press the cutter button to cut the label. 4Remove the backing from the label to expose the adhesive, and then stick! Press thumb latch to open Split backing US Limited Warranty 12 Best Sticker Printer For Labels, Stickers, And Photos In 2022 May 04, 2022 · Complete review and comparison of best Sticker Printers. Select the ideal paper or vinyl sticker printer machine for DIY labels, stickers, and photos: Hobbyists, small business owners, or even company owners must print labels, for various reasons. To do this, though, you need the finest sticker printer on the market.
Dymo D1 Standard Labels 12 mm x 7m blue/white 45014
How to Easily Remove the Backing From Stickers or Labels How to Easily Remove the Backing From Stickers or Labels. Alanda Craft. February 18, 2015. 19 Comments This post may contain affiliate links. We have been making stickers using the ScanNcut but what we found was that once we had printed out images onto sticker paper, removing the backing paper wasn't all that easy with some of the shapes.

Pin on Printers
Strong & Sturdy Magnet Cards | Magnetic Die ... - Stamp-n-Storage Previous versions with the same backing design were NOT coated. We do not recommend adhering your stamps to previous versions. To confirm whether your cards have the coating, they will have a glossy finish. Magnet Cards prior to 2021 had the same backing design, but a matte finish. Actual size of Magnet Cards: 5x7: 4-7/8" x 6-3/4" 6x6: 6" x 6"

XTL Labels - Removing Label Backing - YouTube
Remove dymo lm160 label backing - luxuryvvti - Weebly #Remove dymo lm160 label backing full# Select the DYMO software from the list and click 'Uninstall. Depending on your version of Windows, you may need to click 'Uninstall a Program' to get to the list of programs to uninstall. Windows Computer - Go to Control Panel Programs and Features.
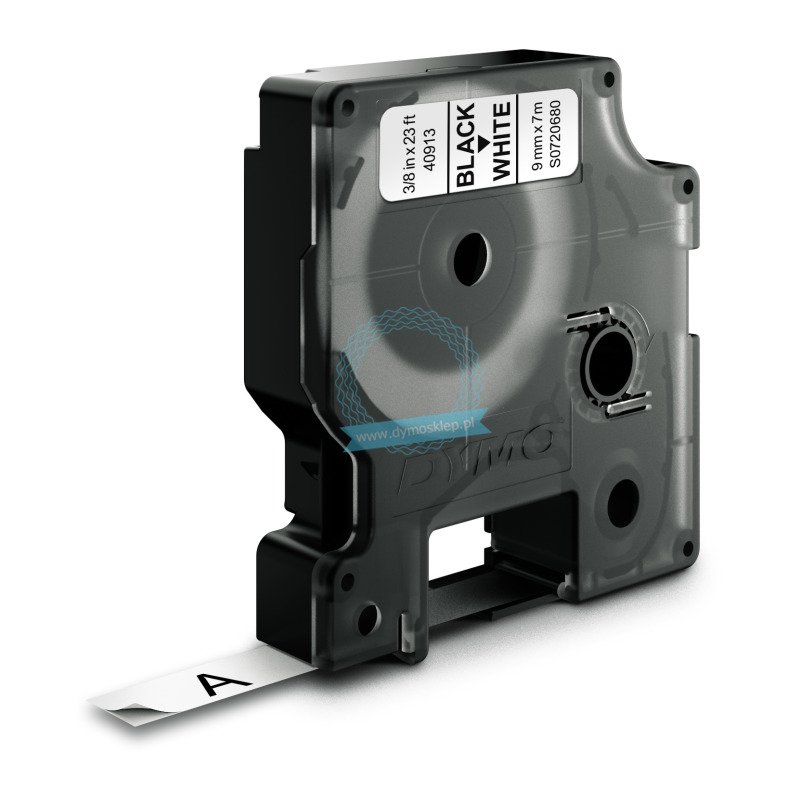
Dymo D1 Standard Labels 9mm x 7m black/white 40913
How to Unjam Dymo Label Maker Step-by-Step | LabelValue 1. Make sure your LabelWriter printer is unplugged. 2. Lift the cover to your Dymo LabelWriter and remove the spool holding your dymo labels. If any labels have already been fed through the printer, tear and remove. 3. The piece of the printer with the Dymo name and logo is the face plate. Remove that piece and set to the side. 4.
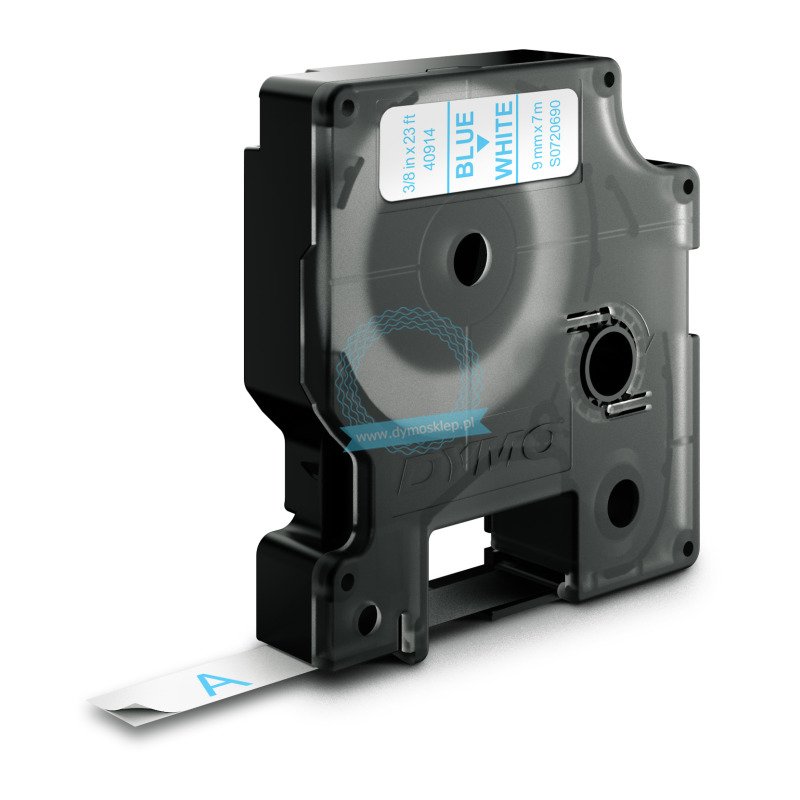
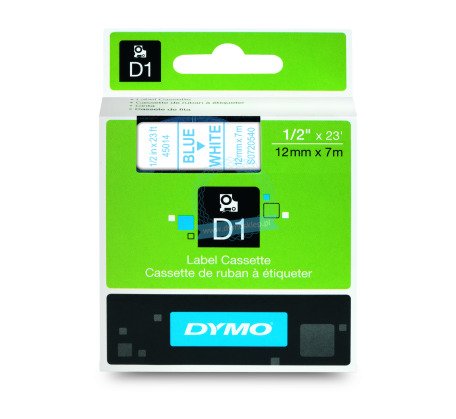
Dymo D1 Standard Labels 9mm x 7m blue/white 40914
Removing the backing from Dymo D1, Rhino and XTL Label Tapes - After you have printed your label, flip it over and look for the split in the backing sheet - Gently squeeze / pinch the tape. The tape backing will start to separate !! - Carefully peel away the backing from the tape - Flip it over and get ready to stick the label where you want it..... These instructions apply to the following Dymo labels:
DYMO Label for Printing Labels | ShopKeep Support
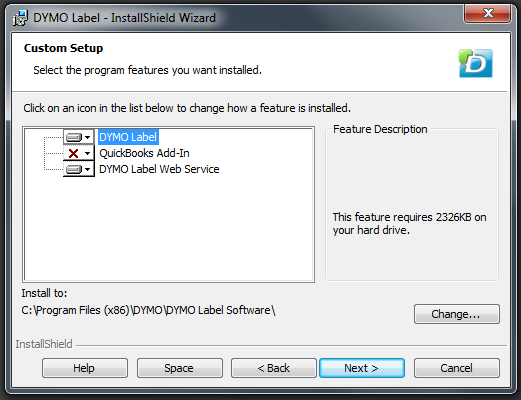
How to Uninstall and Reinstall DYMO Software on a Windows Computer Leave the USB unplugged until instructed to plug it back in. The first step is to uninstall the DYMO software from your computer. Windows Computer - Go to Control Panel Programs and Features. Depending on your version of Windows, you may need to click "Uninstall a Program" to get to the list of programs to uninstall.

Labeling with a Dymo made easy | DefProc
Dymo LabelWriter Printer Troubleshooting Guide | LabelValue The back of the label, on the other hand, is equipped with an adhesive to allow the label to stick onto the surfaces and a liner. ... First, you'll want to unplug the device. Open the Dymo cover, and remove the spool. Remove any labels lodged in the dispenser. There should be a piece with the word Dymo written on it. That is the faceplate ...
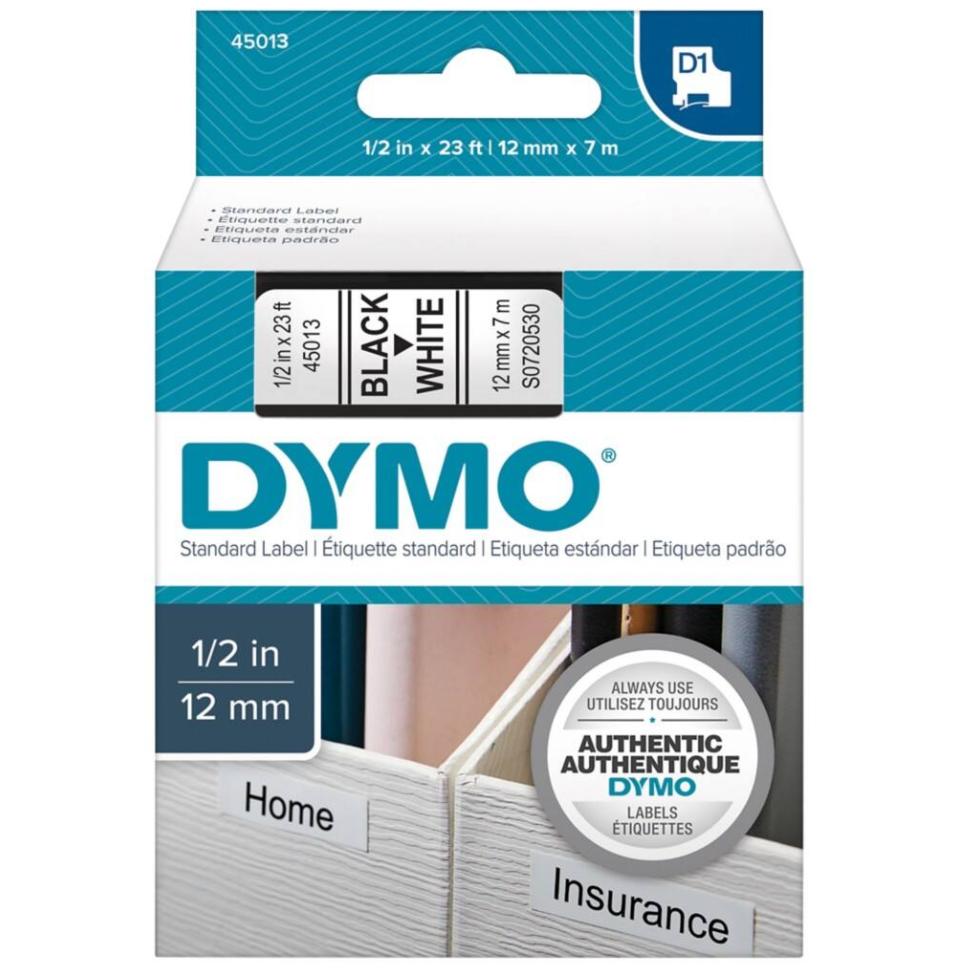
Dymo 45013 | S0720530 | 12mm White D1 Tape - Dymo Express - Best UK Prices
LabelManager User Guide - Dymo 4 Remove the backing from the label to expose the adhesive, and then attach the label. SeeFigure 6. Congratulations! You printed your first label. Continue reading to learn more about the options available for creating labels. Getting to Know the Label Maker Become familiar with the location of the function keys on your label maker.
Setup Label Printing
How to Remove Backing Sheet from Label Paper - YouTube This short video shows how to EASILY remove the backing sheet from label paper. More on PDF Moving-Box labels at
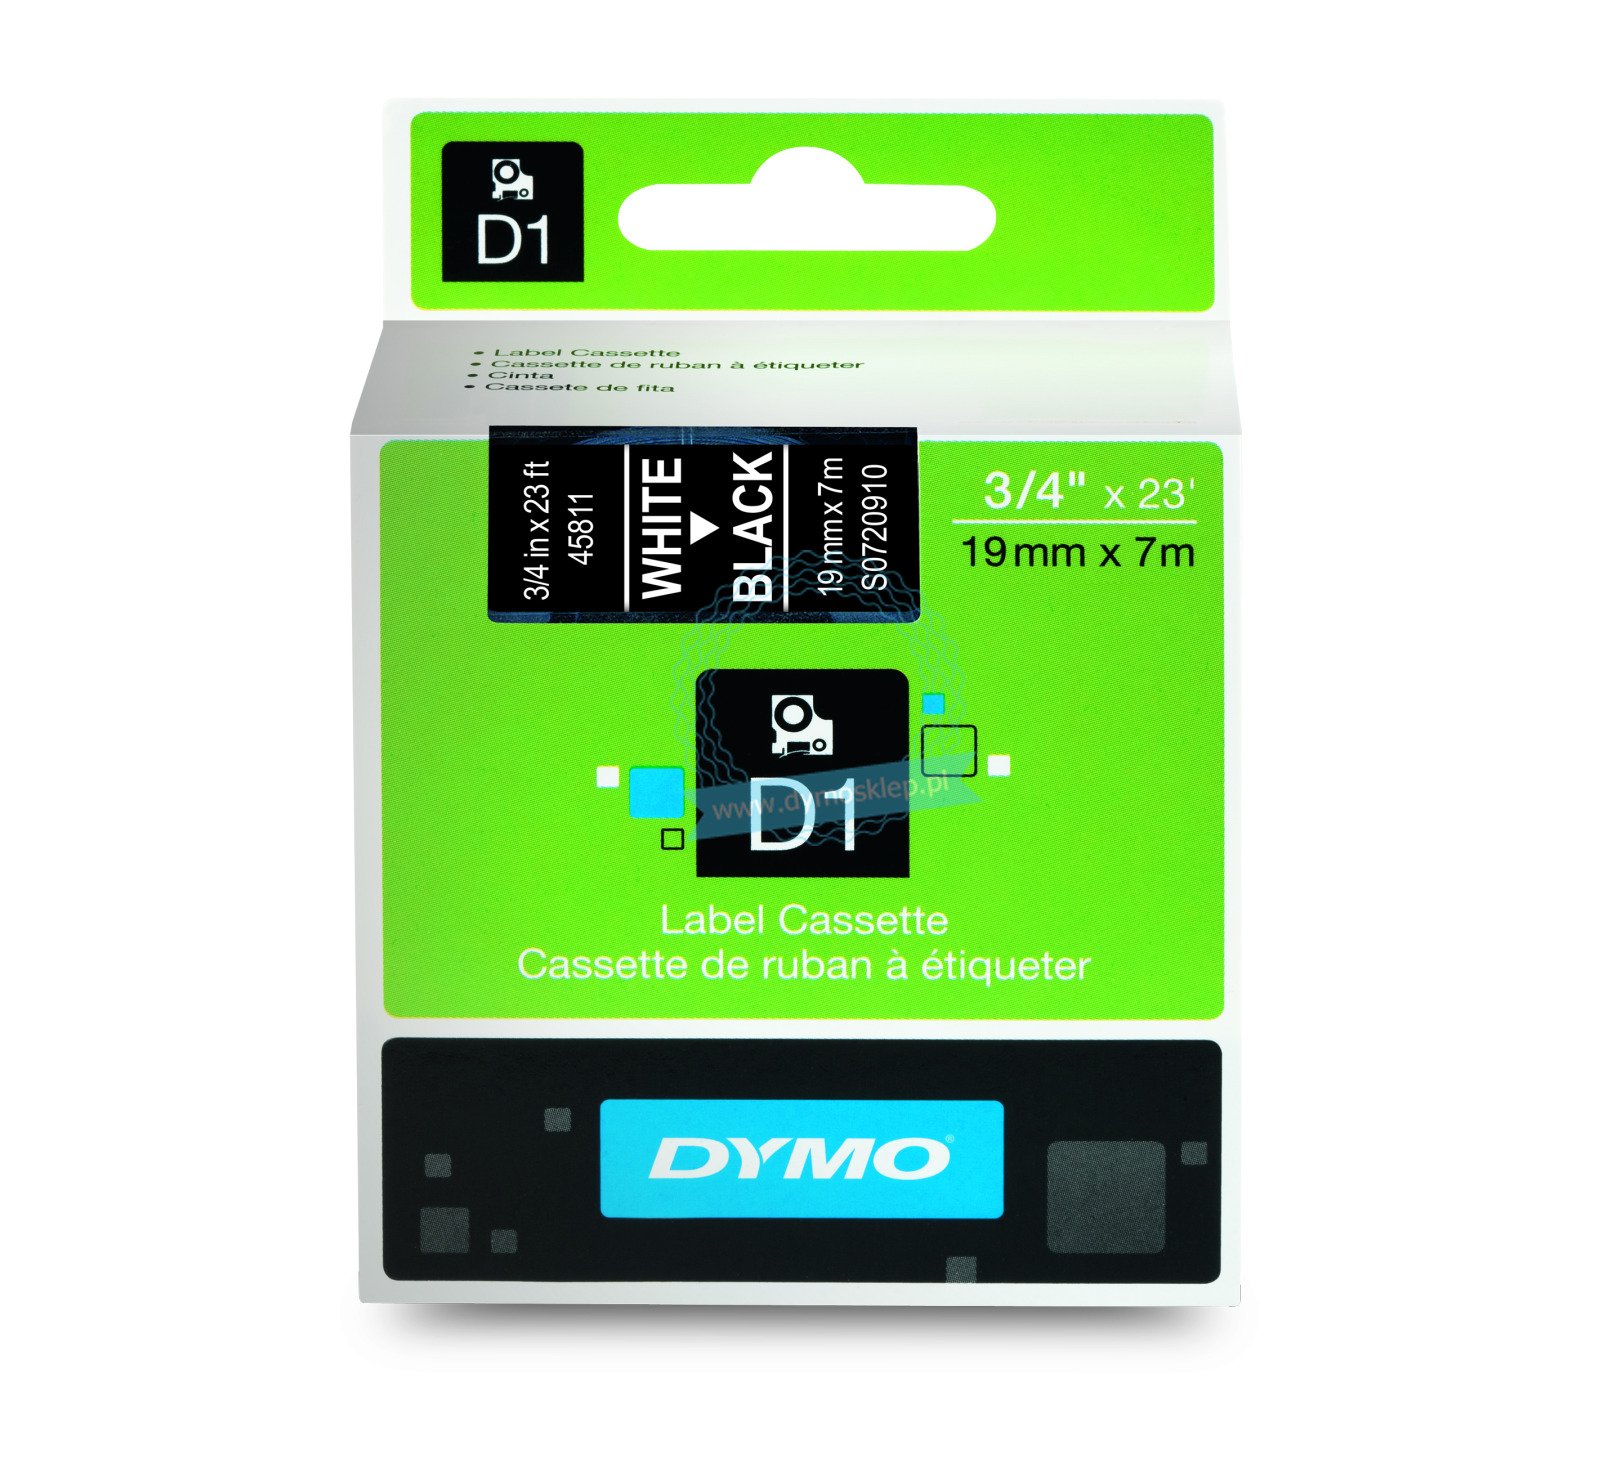
Dymo D1 Standard Labels 19mm x 7m white/black 45811
Restore Painted Letters on Keyboard Keys : 5 Steps ... The label tape is holding up well and looks great. If you can, try this. I think you will be pleased. (To remove the backing from the P-Touch labels, gently fold the finished label lengthwise. The backing slit runs down the middle and will begin to separate from the label so you can remove it very easily.)
DYMO Label Printer - Dymo Barcode & Label Printers Latest Price, Dealers & Retailers in India
Remove dymo lm160 label backing - makaser - Weebly #remove dymo lm160 label backing free# Your personal data will be stored until you withdraw your consent to the processing of your personal data.Ħ. Providing data is voluntary, however, it is necessary to send an information bulletin.ĥ.

How To Load Dymo Label Maker - Ythoreccio
DYMO LabelWriter 450 Front Cover Replacement - iFixit Step 1 Back Plate. Make sure the device is unplugged. Then, turn over the device so that the label is readable. Remove the two 15.7mm screws on the top of the device first, and then the two 26.5mm screws on the bottom (they are in the smaller holes and larger holes respectively) using a Phillips #1 screwdriver.
Dymo 45013 | S0720530 | 12mm White D1 Tape - Dymo Express - Best UK Prices
DYMO Authentic LW Large Shipping Labels - amazon.com About DYMO . DYMO offers a complete range of products for the office, warehouse, worksite, home and even the classroom. From simple embossers, manual label makers and desktop products to industrial portables, computer-connected products, and cutting-edge software and online service, DYMO is here to simplify your tasks while helping you look more professional.

Save on Dymo Labels | Label maker tape, Printing labels, Label maker
5 Easy Steps On How To Change The Tape In A DYMO Label Maker Press and release the tape cassette cover to open the tape compartment of the label maker. 2. Remove the Old Cassette. Remove the old cassette from the label maker. 3. Insert the New Cassette. Insert the new label tape cassette and press firmly until the tape cassette clicks into place. Note: Make sure that the tape and ribbon are taut across ...
Dymo 2093097 D1 Label Tap Mini Bundle of 10 Tapes (45013 12mm x 7m Black On White) (SD2093097)
LabelManager 160 User Guide - Dymo With the DYMO LabelManager 160 label maker, you can create a wide variety of high-quality, self-adhesive labels. You can choose to print your la bels in many different font sizes and styles. The label maker uses DYMO D1 label cassettes in widths of 1/4”, 3/8”, or 1/2”. Labels are available in a wide range of colors.

Dymo Label Writer setup for eClinicalworks - Network Antics
How do you remove the backing from plexiglass? - AskingLot.com Rubbing alcohol is another option for removing sticker residue. Simply dampen a paper towel with the alcohol, lay that towel over the sticky area, then wait a few minutes while the fluid dissolves the glue. To finish, remove sticker residue by rubbing away any lingering material with your fingers or a plastic scraper.
Post a Comment for "40 how to remove backing from dymo labels"